Using the Step by step guide template
The "step by step guide" template is used to write online step-by-step guides for any desired purpose.
It is important that you use the "Google Chrome" browser when writing documents in Docly.
Updated: 14.11.2016 19:35 It is important that you use the "Google Chrome" browser when writing documents in Docly.
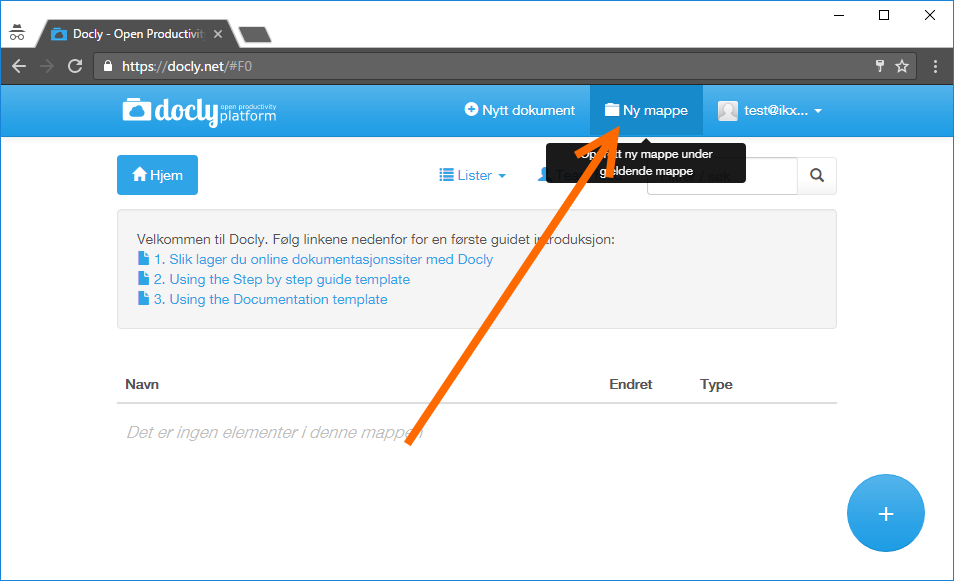
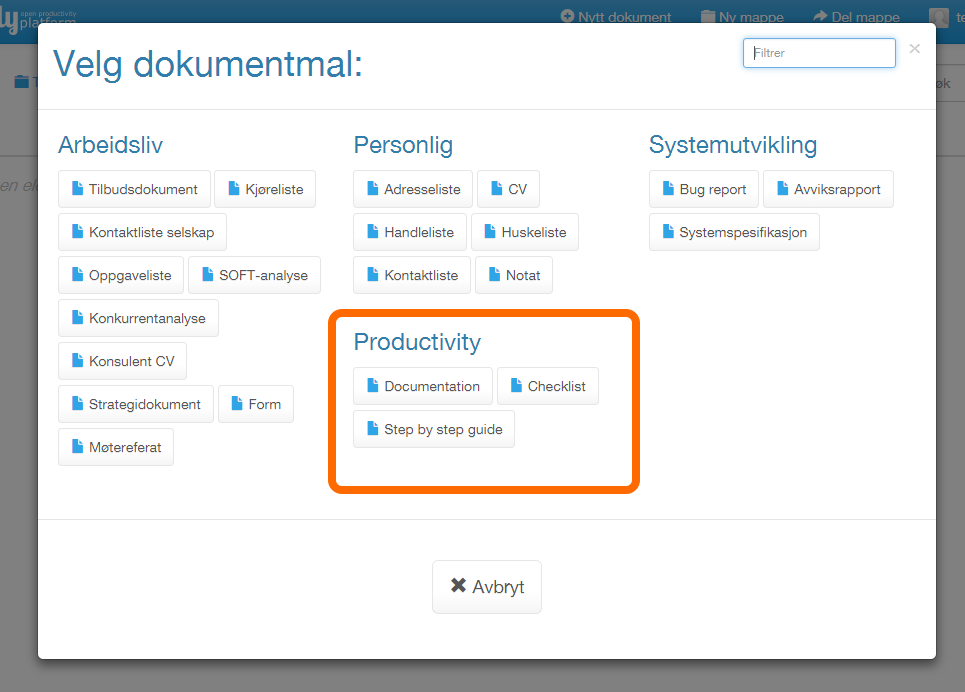
Create new document
Click the "New document" button and choose the "Step by step guide" template:
Enter a document title in the header
Enter a desired name for your guide and click save.
A good practice for naming the guide is to start the name with "Using ...." or "How to ...." directly followed by a verb. Or start directly with the verb.
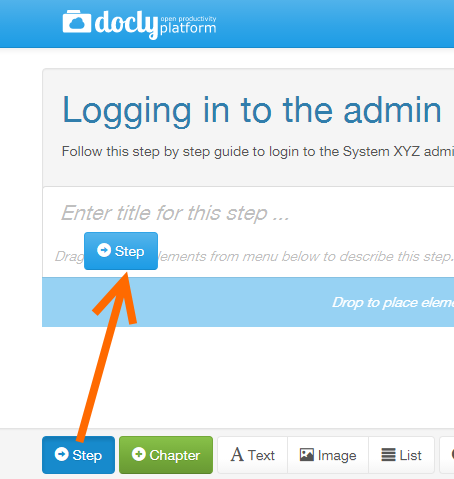
Adding steps to your guide
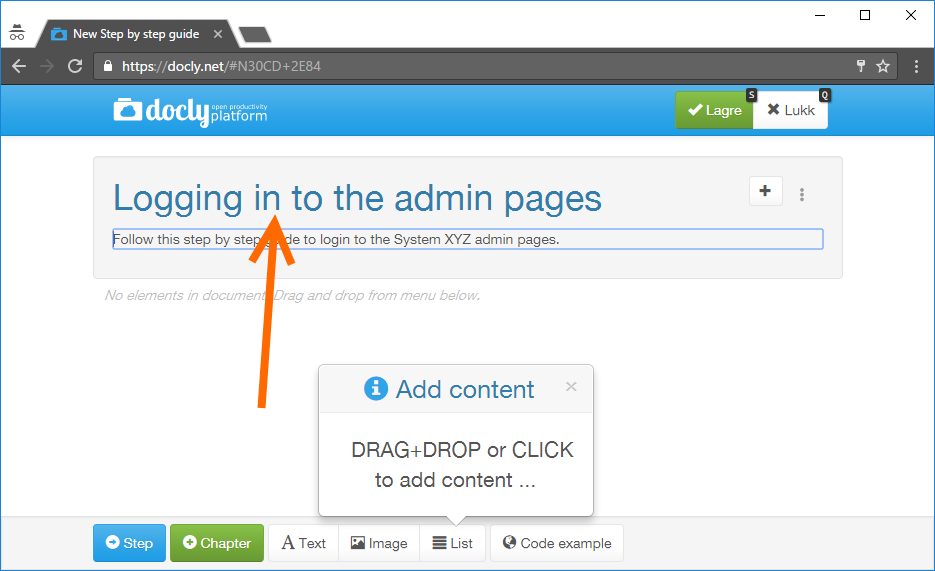
"Drag and drop" OR click the "Step" button in the bottom toolbar to add steps to your guide.
Enter a title for each step. A good practice is to start every step title with a verb.
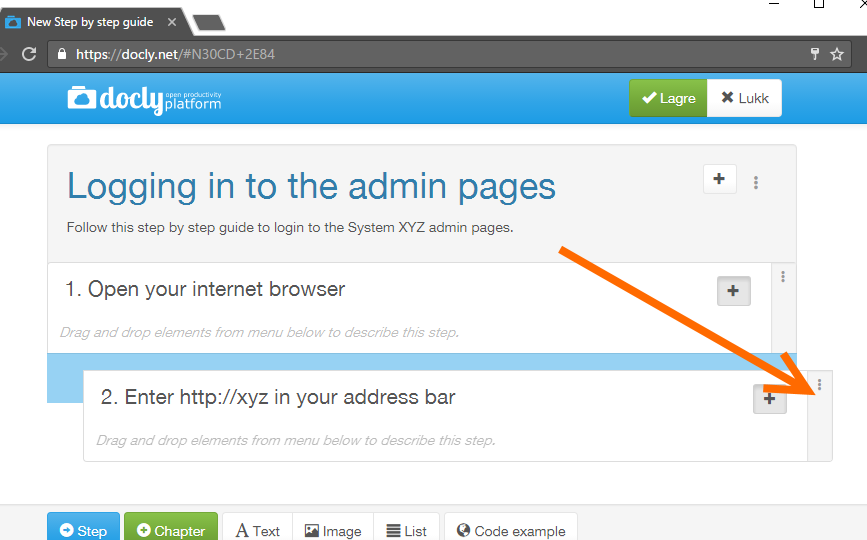
To delete a step use the "option button" to the right on each row or "right click" and press the delete button:
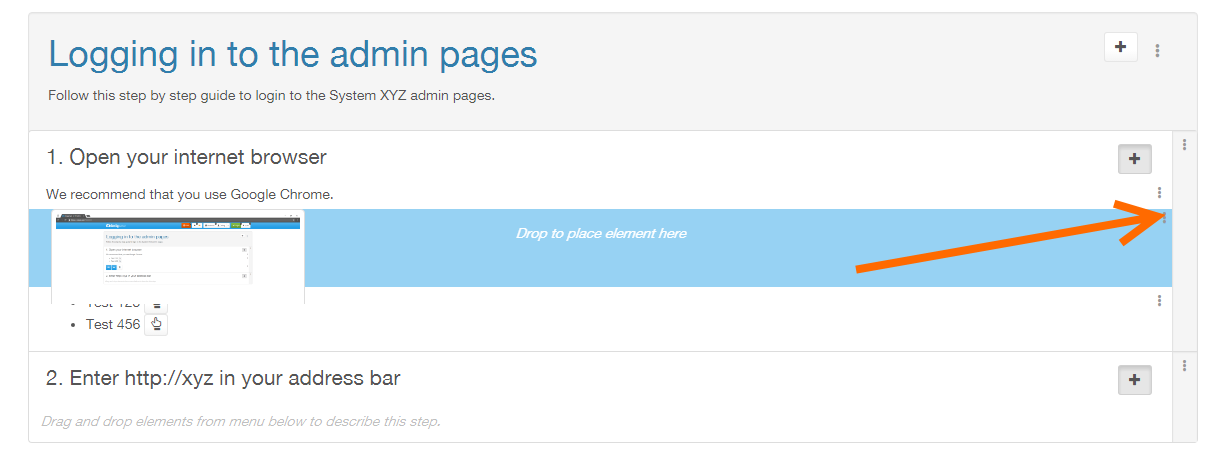
Press down and drag the same option button to reorder elements in your guide:
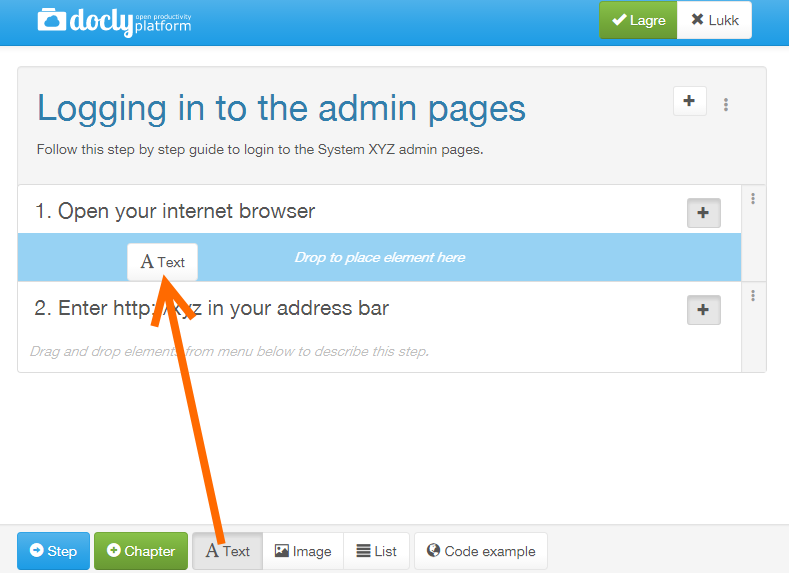
Adding text, images and lists to your steps
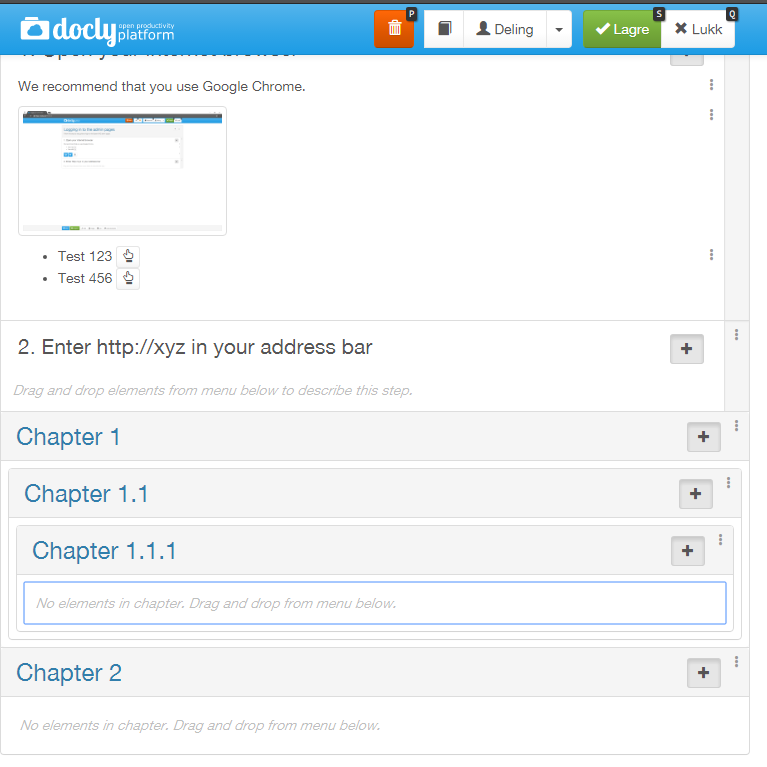
Drag and drop "Text", "Image", "List" or "Code example" elements from the bottom toolbar and place them inside one of your steps.
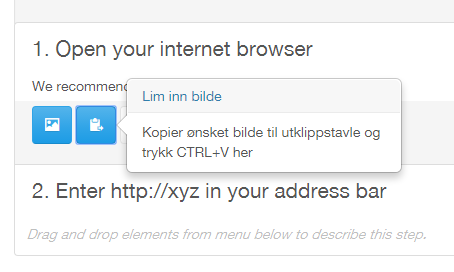
To insert a image you can paste directly from the clipboard. Click into the "paste" button and click "CTRL+V" on your keyboard:
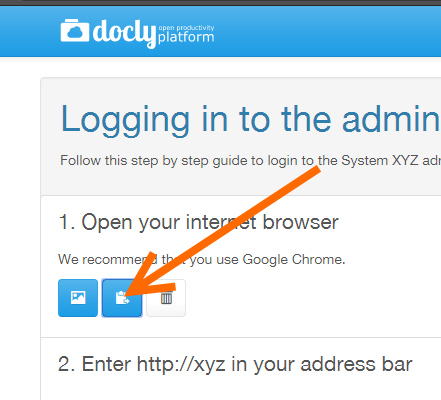
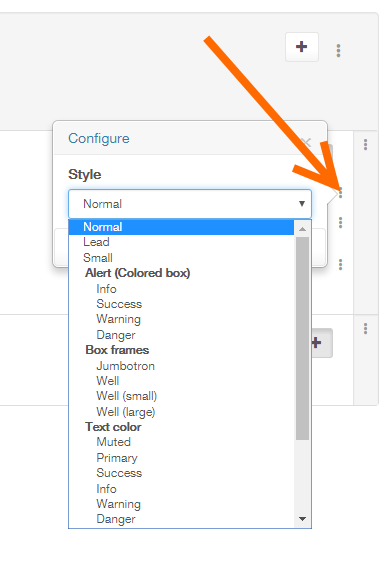
Change settings for each element with "Right click" or the "option button" to the right of each element:
To reorder of the elements press down the option button and "drag and drop" the element where you want it.
Adding chapters to your guide
For bigger guides you can use the chapter element from the bottom toolbar to organize the guide into chapters.
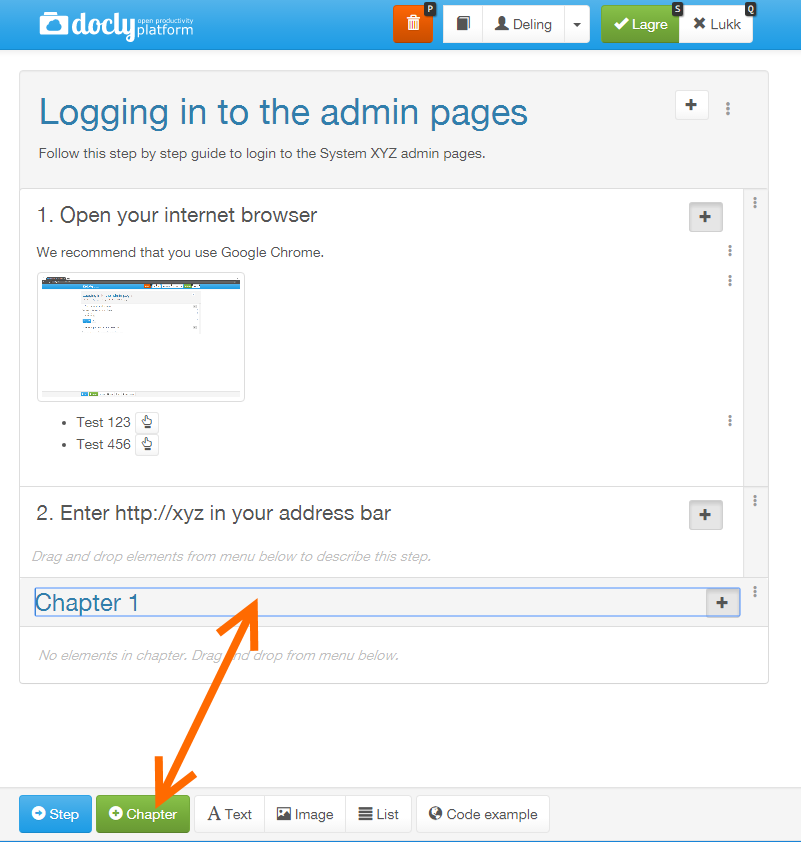
You can also put a chapter inside other chapters if desired: