Adding images to documents
Using images is a great way to make your documents shine. Pictures and illustrations can easily be integrated.
Updated: 18.11.2016 14:54 Open a document
Find and open the document where you want to add an image.
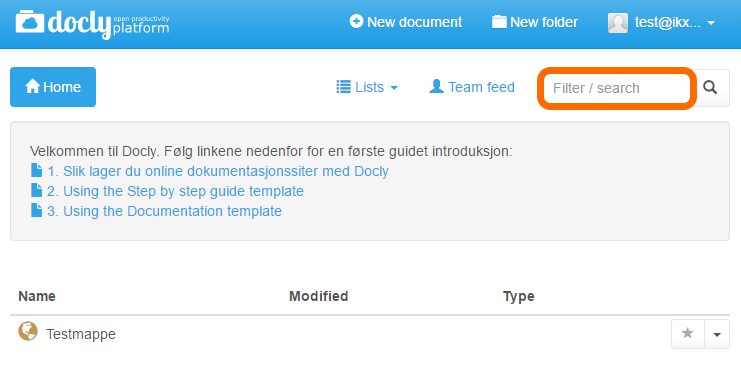
You can either navigate through the hierarchy or use the "Filter / search" function:
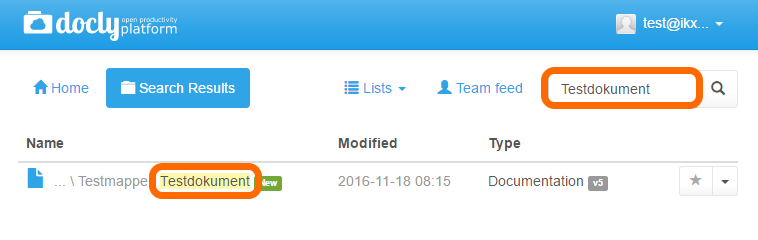
Type the name of the document you want to open and press enter.
Click on the file to open it.
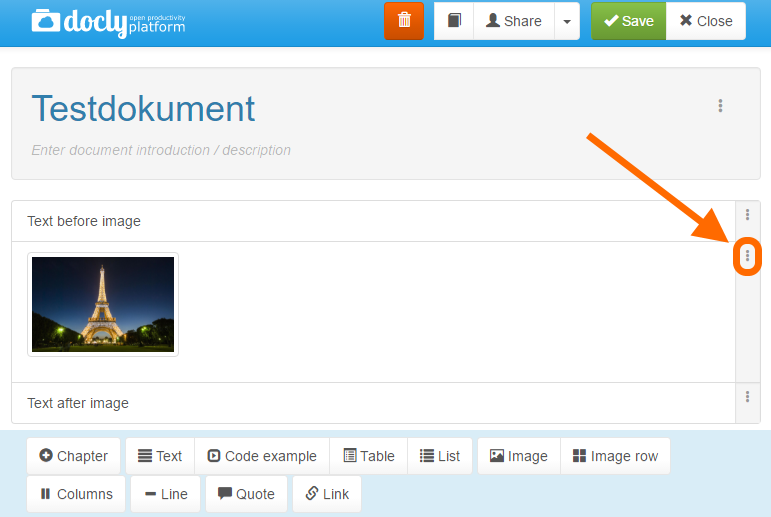
In this case, we will open "Testdokument":
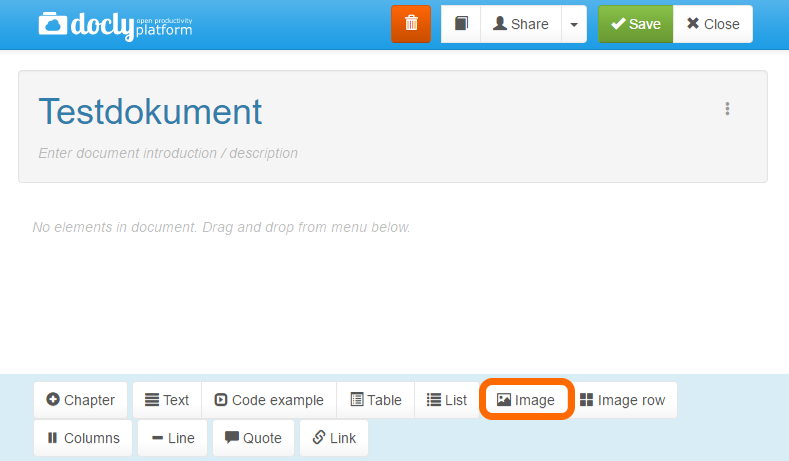
The document is ready to be edited:

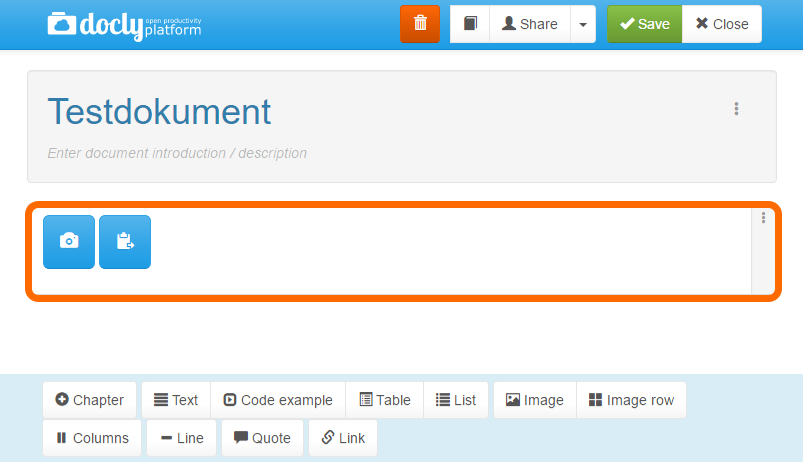
Inserting an image element
Before you can add an image, you have to add an image element to your document.
Click on the "Image" button:
The image element will appear in your document:
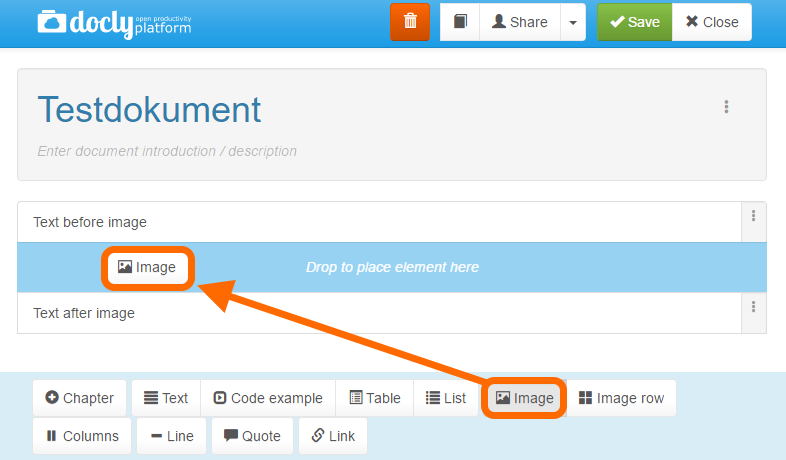
When adding any type of document element, it will always appear as the last item in your document.
Sometimes we need to add document elements in between other document elements.
Simply click, drag and drop the document element where you want it:
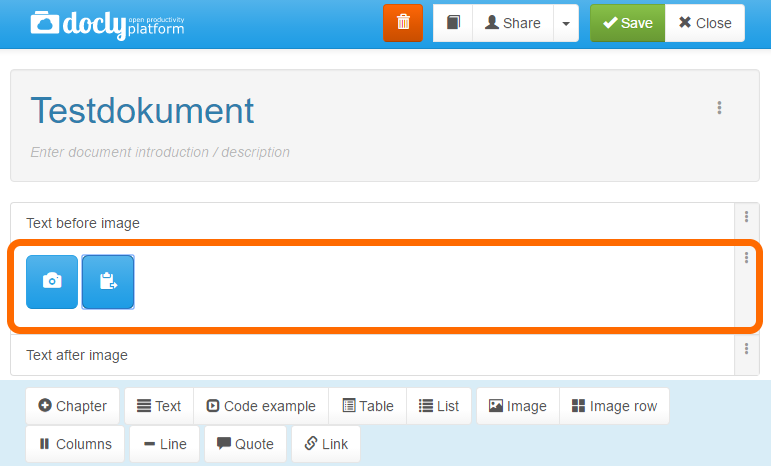
We are now ready to add an image. There are two ways to add an image to your document.
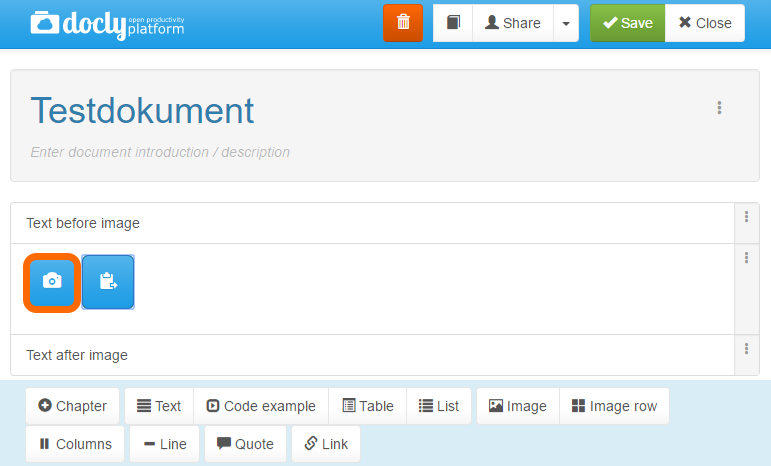
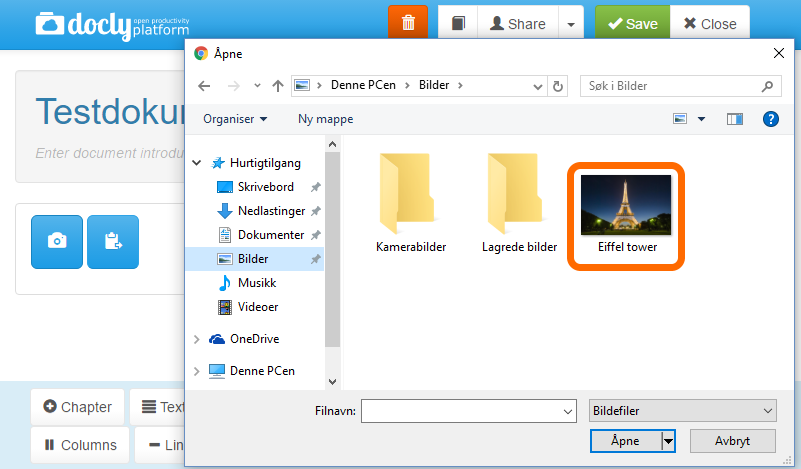
Adding an image from hard drive
If you want to add an image from your hard drive, click on the camera button:
A window will appear where you can access all the files on your computer.
Select an image and click "Open", or double-click the image.
In this case we will add "Eiffel tower":
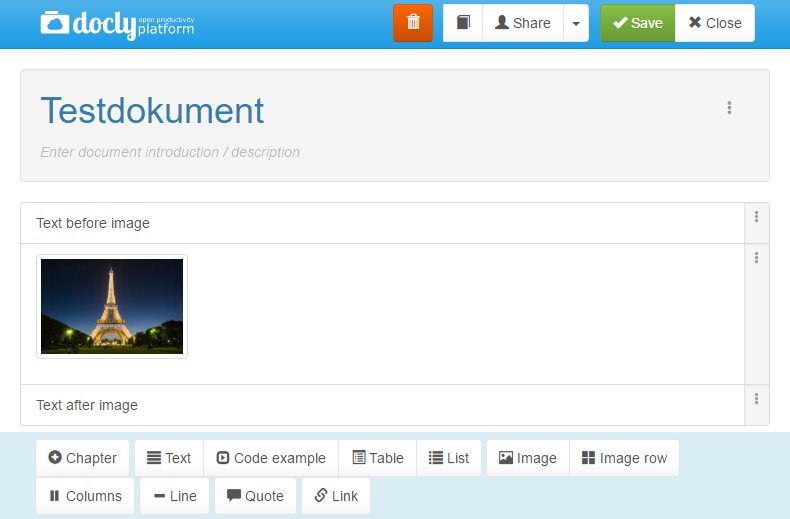
The image has now been added to to the document:

Adding an image from clipboard
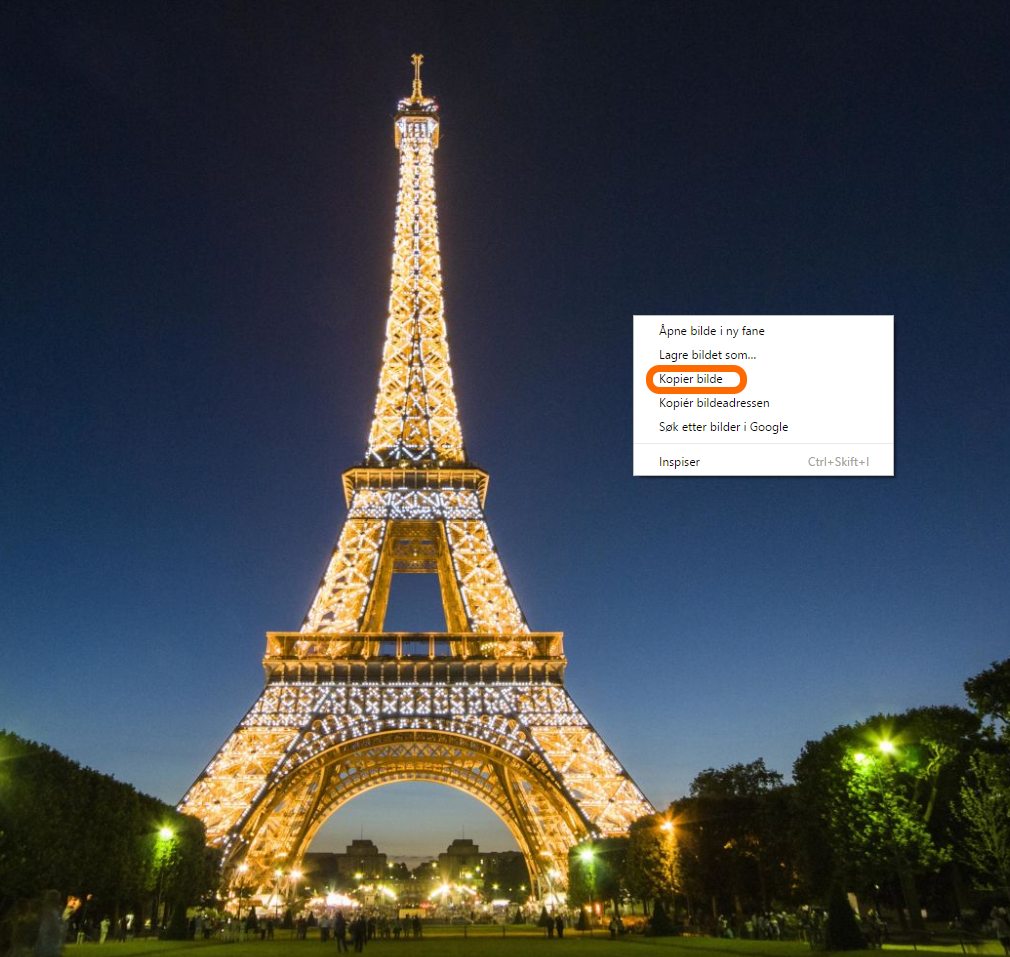
Navigate to the image you want to copy.
Right-click on the image to reveal your options.
Click on "Copy image":
The image has now been copied onto the clipboard.
Navigate back to your document.
Click on the clipboard button:
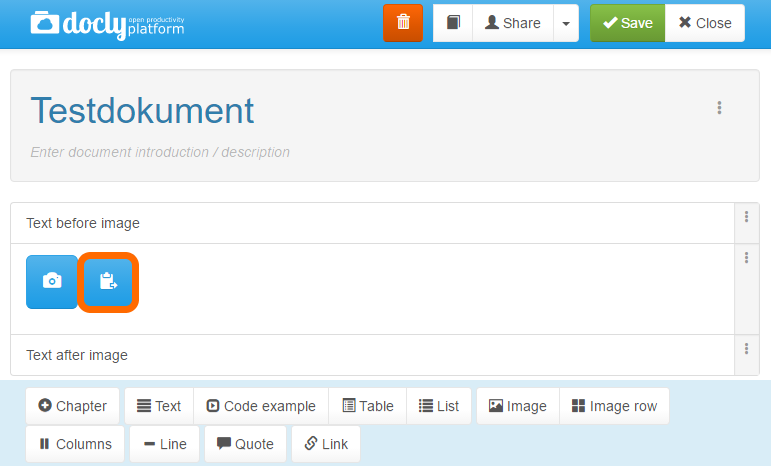
Your document is now ready to receive the image.
Press "ctrl-v" to paste the image from the clipboard:
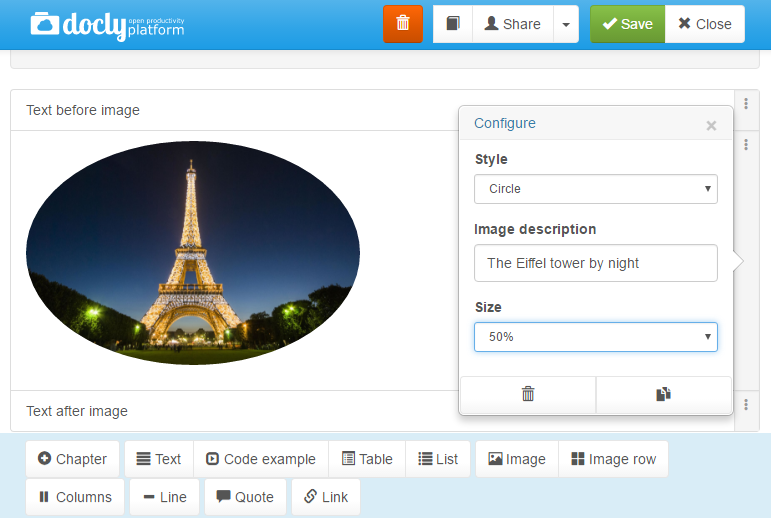
Modifying your image
You can edit the apperance of your image.
Click on the button for the image element to display your options:
You can change the image style and size, and also add a description:
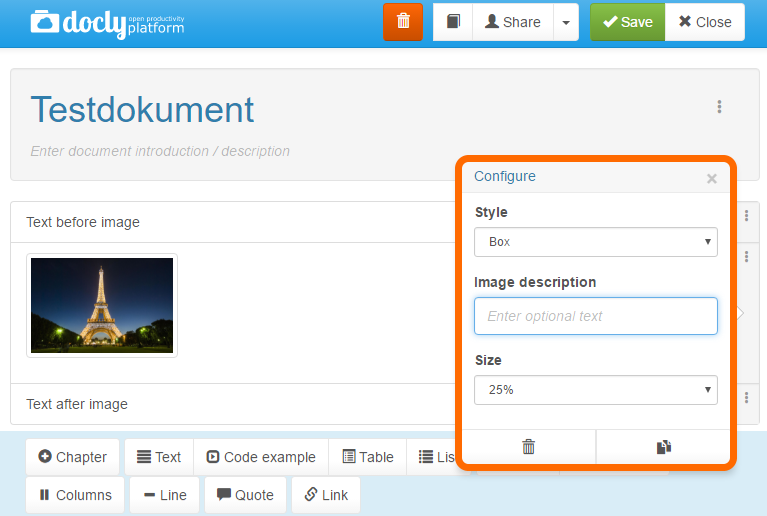
The style is set to "Circle" and the size is doubled: